If you want to use OpenSSL on Microsoft Windows, there are a number of packages provided that allow you to do this, in this example we’ll use Shinning Light Production’s OpenSSL MSI Package.
Step 1 – Download and Install OpenSSL
Download the installer from: https://slproweb.com/products/Win32OpenSSL.html, I used Win64 OpenSSL v3.3.3 Light, but there may be later versions available when you try.
Perform the installation of OpenSSL, once installed by default it places OpenSSL.exe in the C:\Program Files\OpenSSL-Win64\bin\ directory. You can run it from here, but you can also add it to your path.
Step 2 – Add OpenSSL to Your Path
Assuming you don’t have administrative rights on your Windows PC, you can still change the path, just search for: “Edit environment variables for your account”, then click on the “Settings” option, you’ll be shown this:
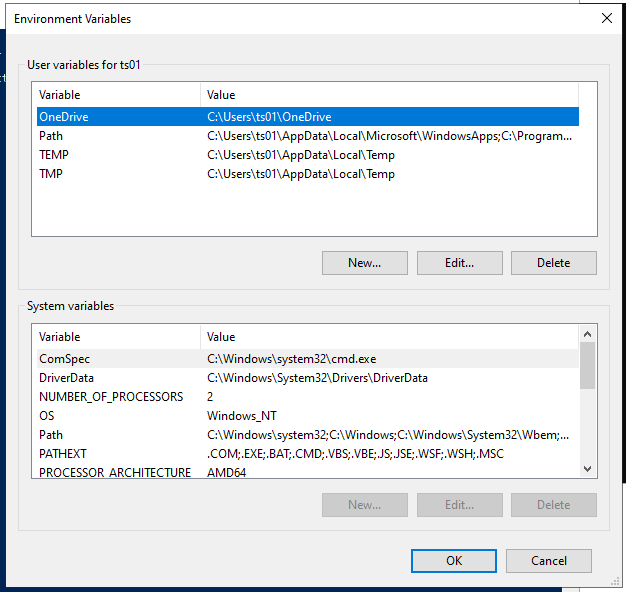
Click on “Path” in the top box, then “Edit”. Then add the path to the OpenSSL executable as shown:
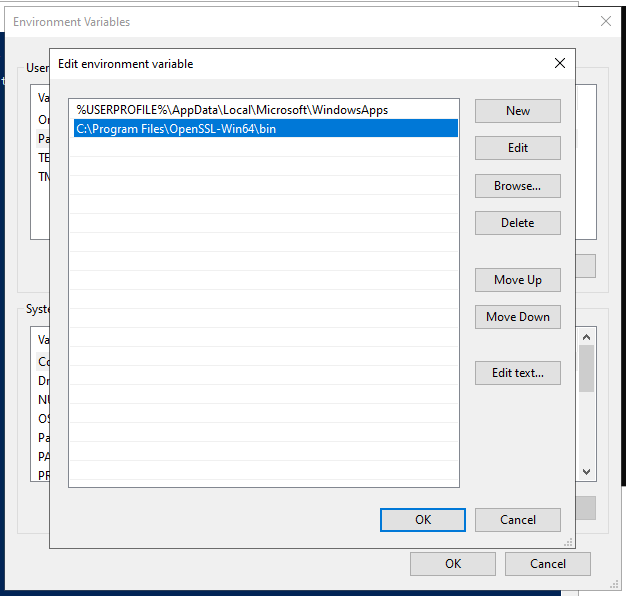
Finally click on “OK” twice, then reopen any Command Prompt or PowerShell Console and you should be able to run OpenSSL without needing to be in the directory of the executable.
